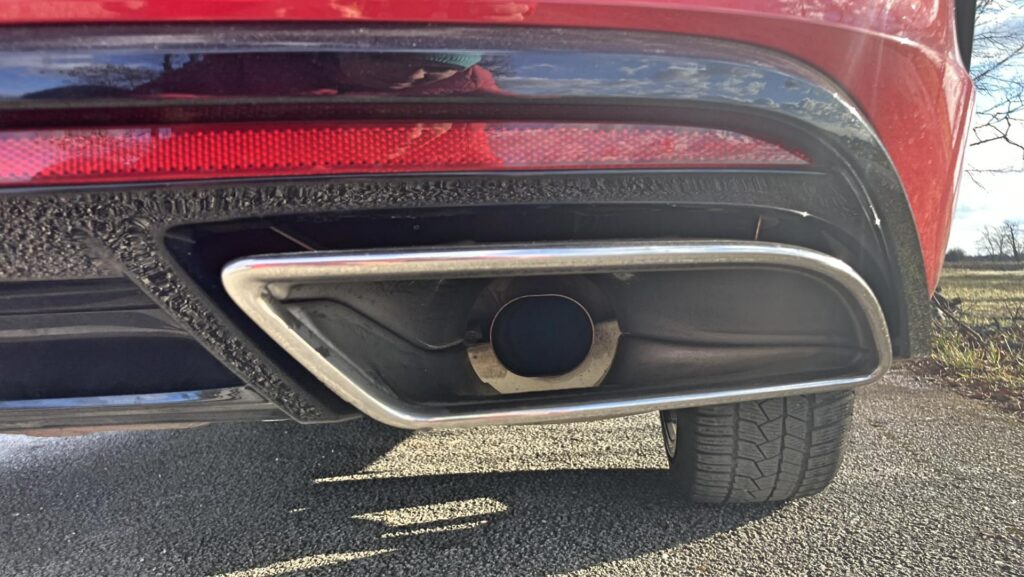
If you don’t only have your car for the classic transport of people, but you also use it as a means of transport that you are proud of, you certainly look for ways to improve it from time to time. And not only in terms of visuals but also in terms of sound. One of the ways to improve your car is to install a sports exhaust. If you have bought it or are planning to buy it, also check out our advice on how to fit it on your car in the right way.
The very moment of purchase is also important, as it is at that time that you should be clear that the new exhaust tip will fully fit your existing one. And that is precise with regard to the dimensions, which are the diameter. We also recommend taking into account another important size, which is the possible opening in the bumper. It’s also a good idea to take this into account when buying because that’s the only way you’ll be sure that the exhaust will fit as it should.
We will start by preparing the existing exhaust
If you are a fan of tuning and you already have a tip on your exhaust, and you want a different one, you must first dismantle the existing one. Of course, if you don’t have one, you’ll skip this particular step. Subsequently, it is necessary to attach a new muffler to the existing end of the exhaust and visually assess what other procedures will be needed. Here, it logically depends on what you expect from the new end, how it can be put on the existing part of the exhaust, as well as evaluate whether any technical modifications will be needed, without which the specific work will not move forward. Let us remind you that everything here is primarily individual and depends on your requirements.
Here we have to come back to the fact that it depends a lot on which exhaust tip is purchased. If it is a solution that will match the type of your car, it is more than clear that no modifications will be needed. If adjustments are needed, there are usually two main ones. The first one is definitely a modification associated with the fact that it will be necessary to shorten the current exhaust. The second modification can then be connected to the fact that you cannot do without creating a larger hole within your rear bumper. In both cases, the procedure is purely individual, and after both steps it should naturally happen that you can fit the specific new shock absorber well.
If your bumper needs to be adjusted, it is ideal to use an angle grinder to adjust the hole. Afterward, of course, the given space needs to be cleaned. In this case, the sandpaper of various roughnesses will logically help. We recommend proceeding with caution and cleaning everything in such a way that it is not visible at first glance that any modification has taken place, as well as to avoid potential damage to the paintwork. This is the only way that even the possible opening will look absolutely perfect, and you will not have to worry about the fact that you might not succeed in this step.
Start the assembly
If everything fits as it should, you can jump on the assembly itself. The first step at the moment is to fit the new muffler onto the existing tailpipe. If the length as such is not enough for us, it is possible to use a piece of pipe from an old silencer. In this case, you cannot do without possible welding during deployment. So, first the so-called scoring. Here we must say that it is necessary not only to have a welding kit but also to think that before starting work, you cannot do without having to disconnect the car battery. It is important to think about this before starting welding. If you’re worried about forgetting, it’s easiest to disconnect it before you start any other work on your car’s exhaust.
Again, if everything suits you, including the length, you can simply skip this step and put the new exhaust tip on the existing one. In this case, the following step will await you.
Check the location
Remember that fitting the exhaust tip is a step that is irreversible, and once done, there is basically no going back. Therefore, after installing the new shock absorber, visually check several times whether everything is as you imagine. If so, you can start the initial phase, which is connected precisely to assembly. You can’t do without a welding kit here, either. As in the previous case, the first step is to disconnect the car battery. As soon as this happens, all you have to do is add the new exhaust tip. And since we pointed out above the need for a visual check, don’t forget to do it one more time now. Only then will you be sure that everything will look perfect.
Finalization
Once everything is in place, you can start the last step, which is, of course, the realization of the last fights. Logically, it is necessary to proceed thoroughly and carefully here. The reason for this is, of course, that the new exhaust tip should fit the existing exhaust section exactly and there should be absolutely no air leakage. That’s the only way you can really be 100% sure that everything will fit exactly as it should. And the new exhaust tip fulfills both its aesthetic and, of course, its sound purpose.
Once the welds are done, the only thing that needs to be done is to let everything cool properly. If you loosen the connections of the individual components of your exhaust during assembly, don’t forget that you also need to tighten them again. Once this is done, the installation of the new tailpipe is complete, and you are sure to head out for a drive that will make your car stand out. Of course, you also need to connect the disconnected battery first. Only then is it possible to get into the car, start it, and try out the sound of the new end to the full.


