Nowadays, parking sensors are quite a useful helper for anyone who is worried about parking correctly. Thanks to them, however, it is possible to receive a clear signal into the interior of the car about whether there is an obstacle behind the car and exactly how far it is. This makes parking not only safer, but also safer and easier. In order for everything to be this positive, it is of course necessary to carry out a step, which is the installation of parking sensors. These can be installed by a professional in the service, but it is not always necessary. It is also possible to handle the installation yourself. Thanks to us, you will find out how.
Choosing the right sensors is fundamental
The most important thing to do is to choose the right sensors. The main thing that should primarily interest you is their color. Remember that they should match the car as best as possible. The assortment with white and black sensors dominates, but it is also no problem to purchase one with sensors in different colors that will match your bumper perfectly. Once you have your selection down, you can order them and just wait for them to arrive.
Drilling holes
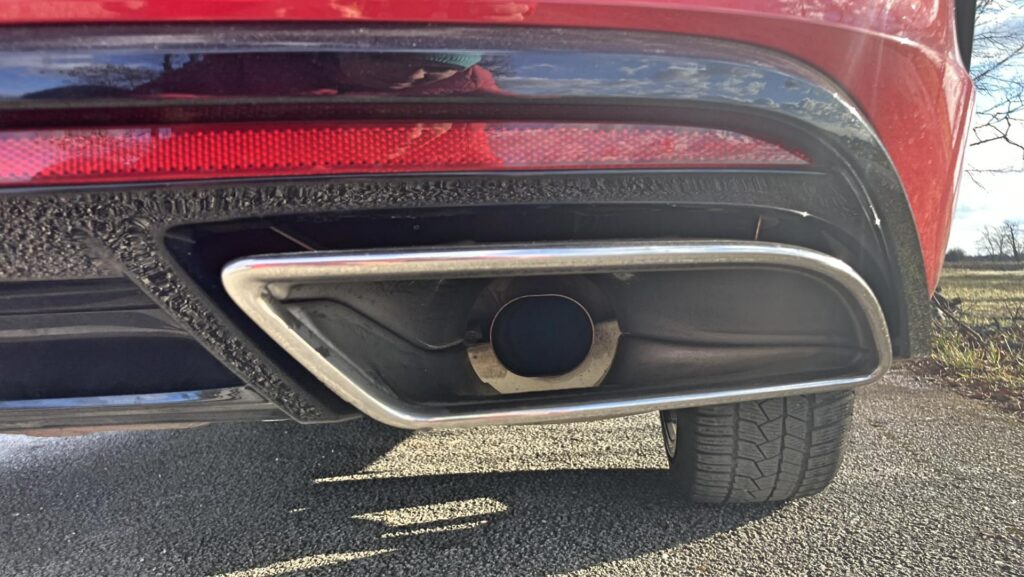
Once the sensors are at your place, you can proceed to the most important part, which is, of course, the installation of the parking sensors. The first thing to do is drill holes in your bumper. You can tell the size of the drill mainly by the size of the given sensors, which should fit exactly in the given hole. Don't be afraid to open the manual here, as it will tell you exactly what holes to drill. Be sure not to underestimate this step. If you are not sure, start with a smaller opening, which you can then widen if necessary. If you were to drill a larger hole, it is possible to purchase various reductions, but in this case we have to say that it does not look very good.
Drilling holes is also related to the fact that it is necessary to measure everything well. Parking sensors should be located in the upper part of the bumper, ideally in its largest part, where the car ends quite logically. It is this part that in most cases is the first to touch a possible obstacle. Once you are clear about the horizontal position, you need to determine the exact center of your bumper. Then proceed with precise measurements to the right and left, thanks to which you will already determine the exact places for where your specific sensors should belong.

Location of sensors
The holes are drilled, so the next step can follow, which is already quite simple. It is about placing the individual sensors in the prepared holes. Don't be afraid to use a little force to make sure you get the sensor in place. It should hold there perfectly and should not move or wobble in any way. If it is in place, it is enough to solve the cabling itself. Remember that a specific cable should always lead to the sensor itself. Therefore, check that the cabling is correctly connected and that everything is in perfect order on this side as well.
Cable stretching
If we have the parking sensors in place, we can get down to the wiring itself. Here it must be said that the main and essentially the most important step is to connect the individual parking sensors and their cables to the main place, which is the control unit. It is the main element that we cannot do without. It is the control unit that can evaluate signals from individual sensors. Once they are evaluated, a signal is also sent to the car itself, where we subsequently hear an audio signal or see a graphic that tells us how far the obstacle is. We will therefore primarily connect the parking sensors to the control unit.
The next step is to connect the control unit with the output speaker itself, or perhaps with the graphic display. So we run the cabling from the control unit, preferably through the interior. Our main goal should be to mask the cables so that their routing cannot be seen in any way. We can have it simpler when we purchase such parking sensors that offer the possibility of wireless connection. From the control unit, the signal will go directly to the interior, and we do not have to deal with the routing of the cables as such. Even though such wireless parking sensors are a little more expensive, their advantage is precisely that they can offer us the option of simpler and less laborious assembly. This is a good thing to consider when investing in them.
Connection to the car
The connection with the car is also very important, which should be very simple, based on the connection to the control unit of the car itself. A universal connector should help here, as well as, for example, various reductions. It is necessary to think about the fact that the parking sensors should be able to turn themselves on. Of course, right at the moment when we put our car into reverse. In this case, there is no need to think about anything and only pay attention to parking and a specific signal.
Testing the sensors
We certainly cannot do without it, for one simple reason. It is first necessary to be clear about the fact that everything really works as it should. That is, that they can identify the obstacle well and that they will give us a signal about it well in advance. You also have to think about the fact that you need to measure the distances within which the individual acoustic signals change. This is necessary at the moment when we need to have a clear overview of how far the obstacle that the parking sensor warns us about is. This is certainly important not to neglect, because during reversing you will have 100% certainty of accurate information. It is ideal to proceed in such testing either in twos, or to gradually approach such an obstacle where we are sure that the car will not damage us. Our tip is, for example, an ordinary plastic dustbin.